


Once finish making your game is time to deploy it.
PC BUILD (Windows, Mac, Linux)
On the Build settings and by default we are already on the selection to build for PC. Before pressing on Build we need to check on some settings on the Player Settings

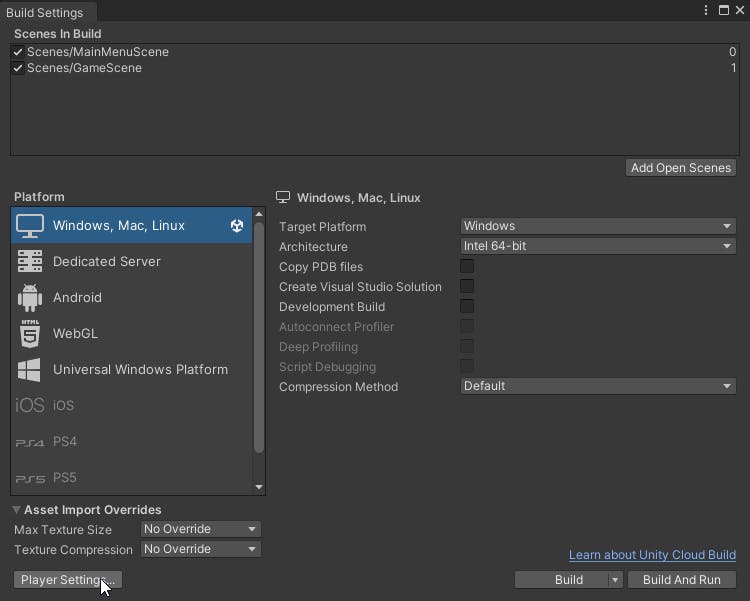
On the Project Setting -> Player we can select our icon of the game were it says Default Icon, the name of our project on the Product Name, down in the Other Settings section make sure the Scripting Backend is on Mono.


Back to the Build Setting, when we press Build we are prompt to select a folder to store our build; create a new folder, mine is named 2D_Shooter_PC_Demo, outside of your Unity project folder structure, this can be store in whatever place on your computer. Press Select Folder on the new folder you create:


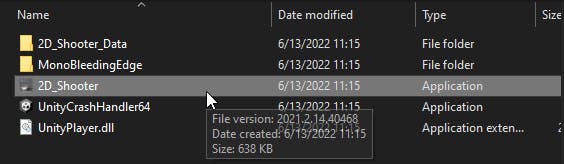
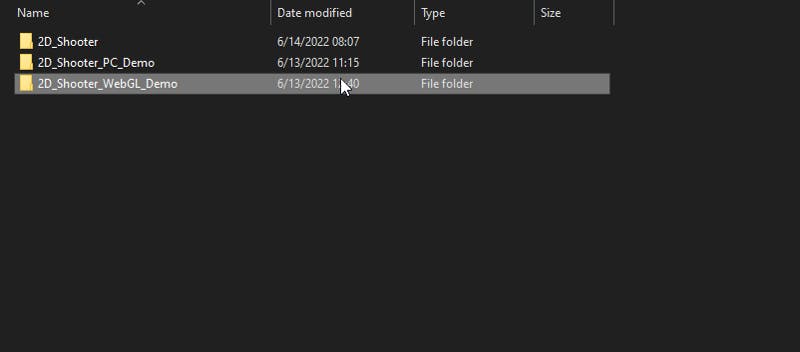
Once it finish you will great with the following files showed on the image. Double click the Application called 2D_Shooter and your game will run on your PC.

WEBGL BUILD
If you don’t have the WebGL selection make sure you have the module install. In Unity Hub check the Version your using, go to Installs, press the gear icon of your Unity version, Add modules and installed the WebGL Build Support


Back to the Build Setting, select WebGL and press Switch Platform. Once done press Player Settings

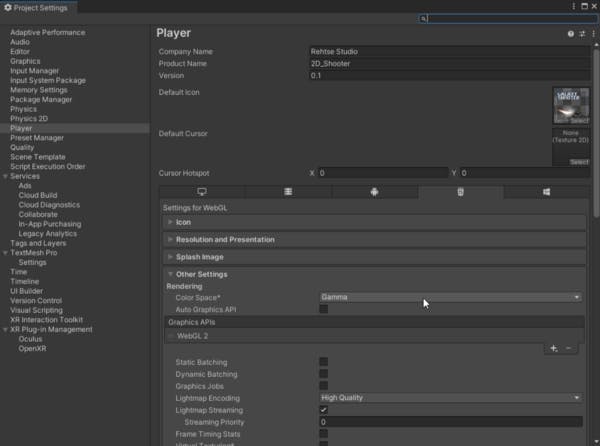
On the Other Settings makes sure Color Space is Gamma and Auto Graphics API is not checked; and on Publishing Settings on Compression Format select Disabled.

Go back to Build Setting and when pressing Build, same as the PC build, you will need to create a new empty folder.

Once done you will have the following files on the folder where the WebGL demo is saved:

To test your WebGL build without hosting it please have a look to the following article:
https://rehtse-studio.medium.com/testing-unity-webgl-build-on-your-pc-before-uploading-da954b895730

🎮PART 17 🎮