


In this series of articles/tutorials, we are going to be making a small 2D Space Shooter using Unity3D and, later on, using the New Input System.
Some Project Changes
Rename The Current Scene
Go to the Project windows, click the arrow from the Scenes folder, right-click the scene names SampleScene and press Rename, call the new scene GameScene, and press Reload.


Changing The Color On The Game View
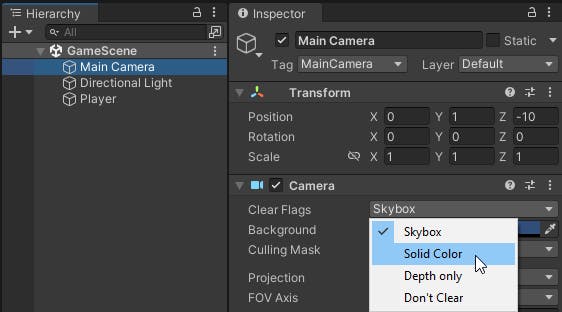
Go to your Main Camera on the Clear Flags section, select Solid Color, and choose black on the Background area.
Changing The Game View To 16:9 Aspect Ratio

Create The Player
In the Hierarchy windows right, click on an empty space and go to 3D Object->Cube

Select the new Cube that is in the Hierarchy window, and in the Inspector, press on the 3 dots in the Transform and press Reset, the on top change is name to Player


Change The Player (Cube) color
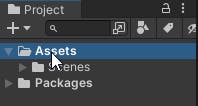
Right click on the Assets folder and go to Create and select Folder, name the new folder Materials
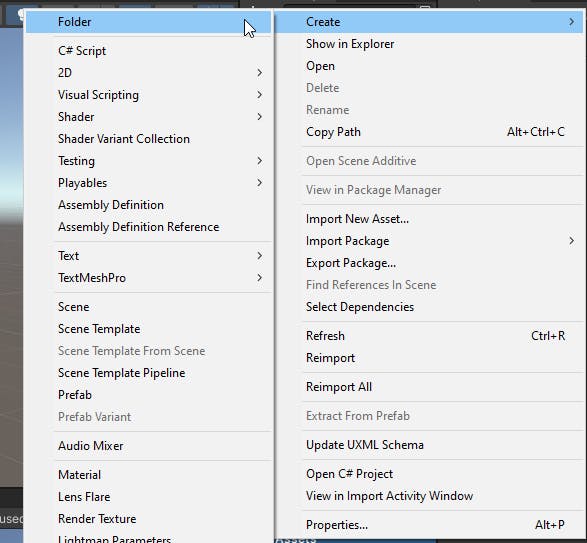
Right click on the Materials folder and select Create -> Materials, named the created material as player_mat

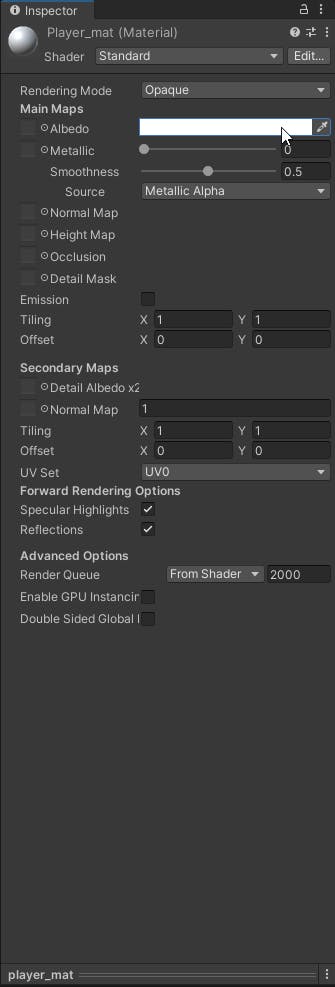
Select the player_mat material and in the Inspector window, assign it to your preferred color.

Select the Player and on his Mesh Renderer component on the Materials section where it says Element, press on the dot and select the player_mat


Moving The Player With The Keyboard
Before creating the script that will allow us to move the Player(Cube) with the WASD keys from the keyboard, we need to check if we have an IDE. If you have an IDE installed, you can skip this part.
Download Visual Studio and select Community 2022

Double-click the file VisualStudioSetup
Follow the instruction, and when it prompts you to add Workloads, select the Game development with Unity on the Gaming section.

Once finished, go back to Unity, go to Edit -> Preference, and on External Tools, select the Microsoft Visual Studio version you have on your system in the External Script Editor


Creating The Player Script
Please create a new Folder and call it Scripts. Right click on the Scripts folder and create a C# Script and named it Player


Double-click the Player script on Visual Studio and type the following:

Select the Player game object on the Hierarchy, press Add Component, and type the name of the script, Player in this case and select it. Put a five on the Speed field and hit play.
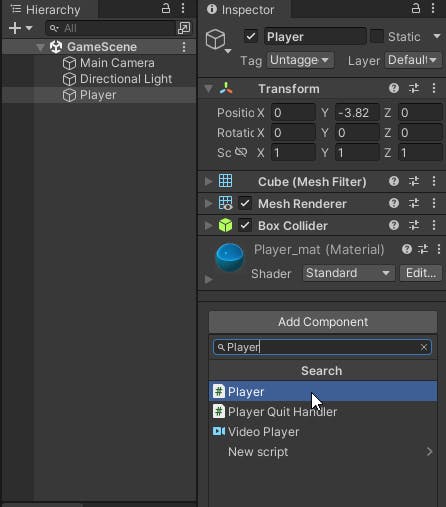


Next up will be explaining what the script is doing.
🎮[PART 3: SCRIPT EXPLANATION AND SHOOTING LASER]🎮