
Made With Unity | UI Toolkit: UI Builder

I am a developer from Puerto Rico.
I develop games or applications with Unity C#. Constructing flexible and maintainable systems through event-driven designs that follow solid principles with a strong awareness for optimization and performance. With a focus to deliver complete and optimized experiences on mobile as well as PC and consoles. All my projects are saved using GitHub. Great at communicating and working in team environments. Love to learn new things and I am always looking for new opportunities.
Follow along for a basic understanding of using the UI Builder from Unity’s new UI Toolkit to create a scoring system.
What Is The UI Toolkit?
The UI Toolkit is a Unity package containing many features, resources, and tools for developing a user interface (UI). You can use UI Toolkit to build custom UI and extensions for the Unity Editor, runtime debugging tools, and runtime UI for games and applications.
Standard web technologies inspire UI Toolkit. If you have experience developing web pages or applications, you will get used to the core concepts of how the UI Toolkit works in Unity.
This article will use the UI Builder to make a simple runtime UI to tell us how many coins we have collected.

What Do We Have On The Project?

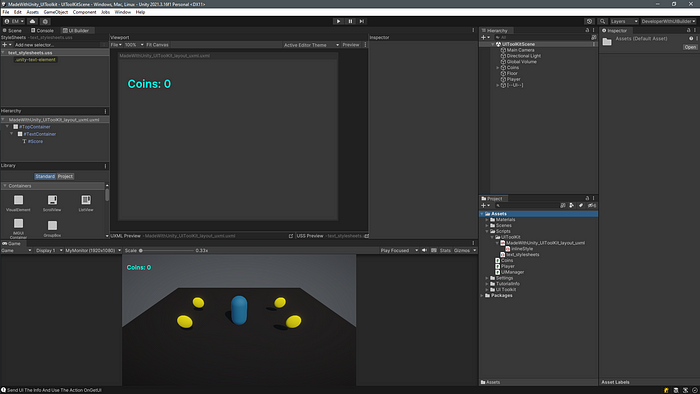
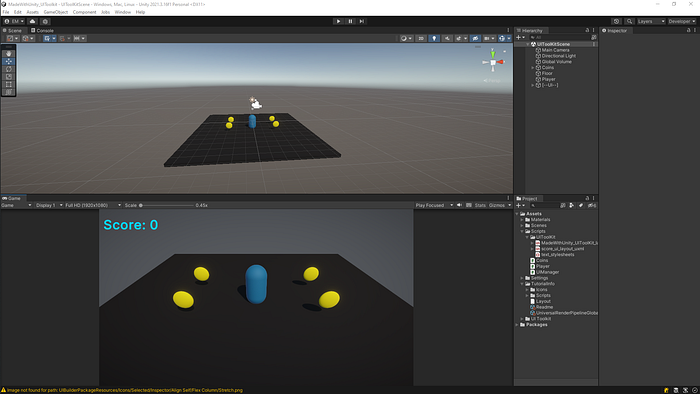
On the Hierarchy, we have Game Objects. One of them is our Player, and a few are our Coins. On the Project window, we have the Script folder with our scripts, UXML file, and USS file.
Scripts
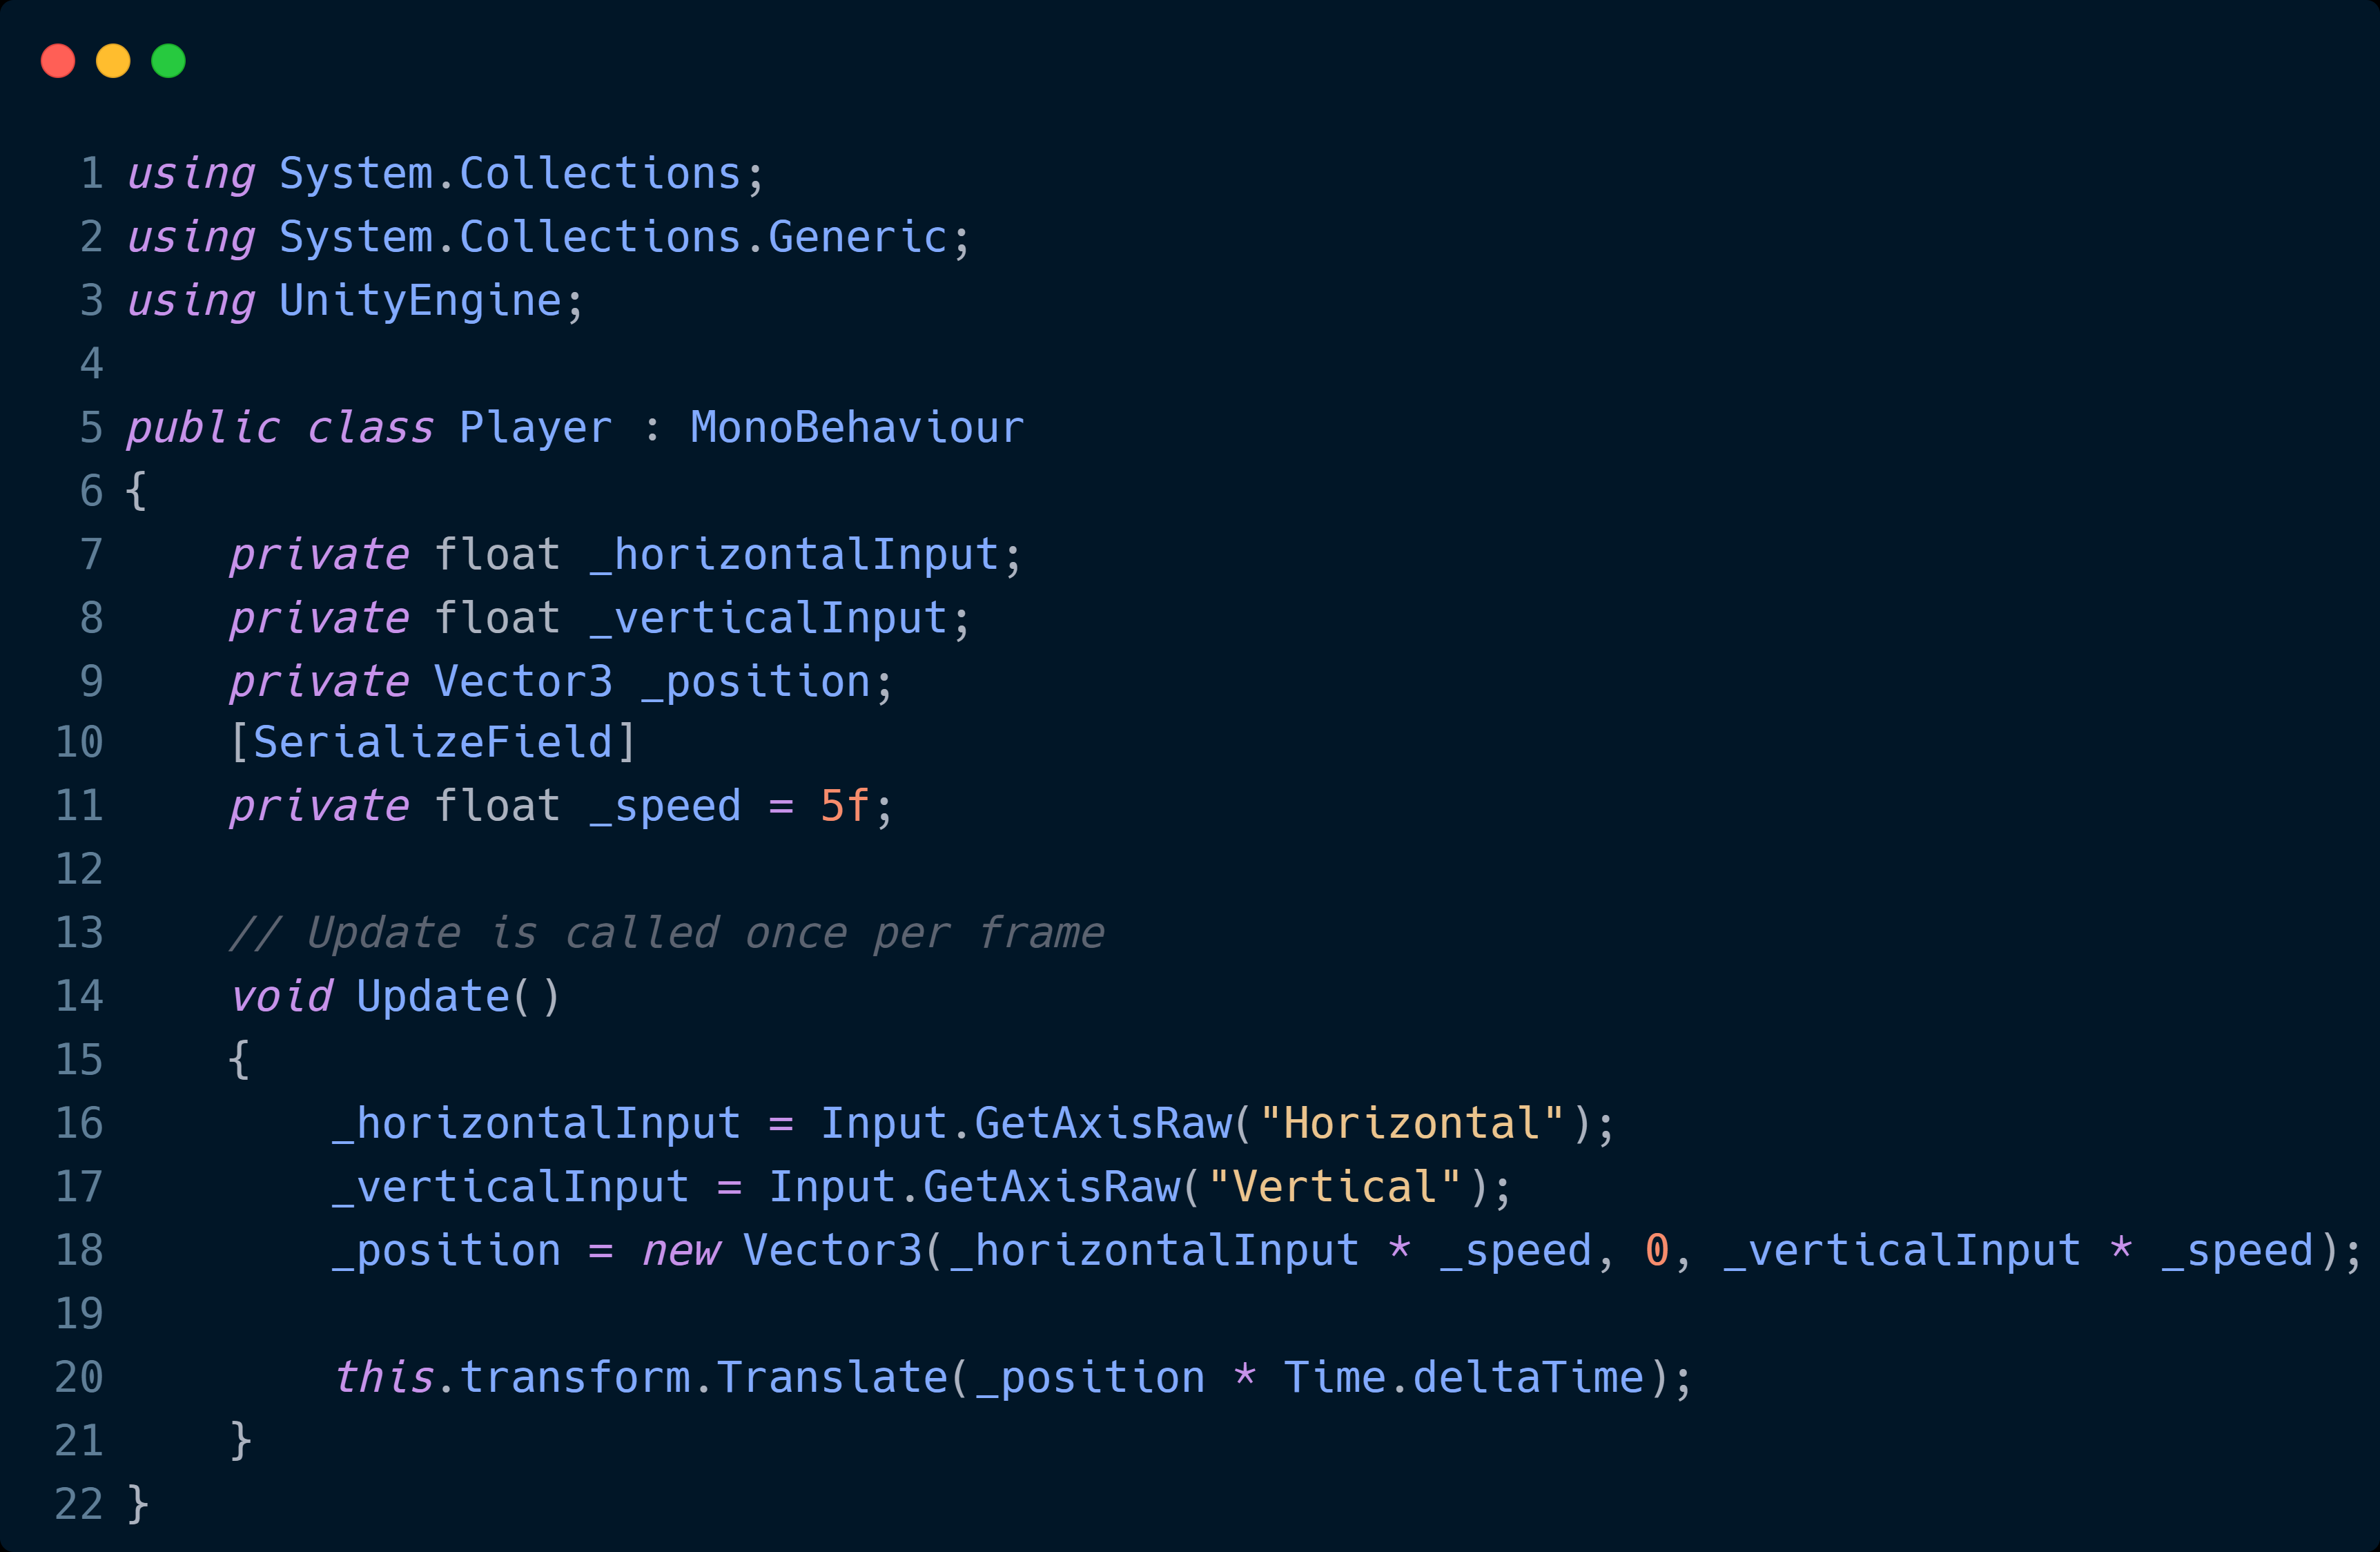
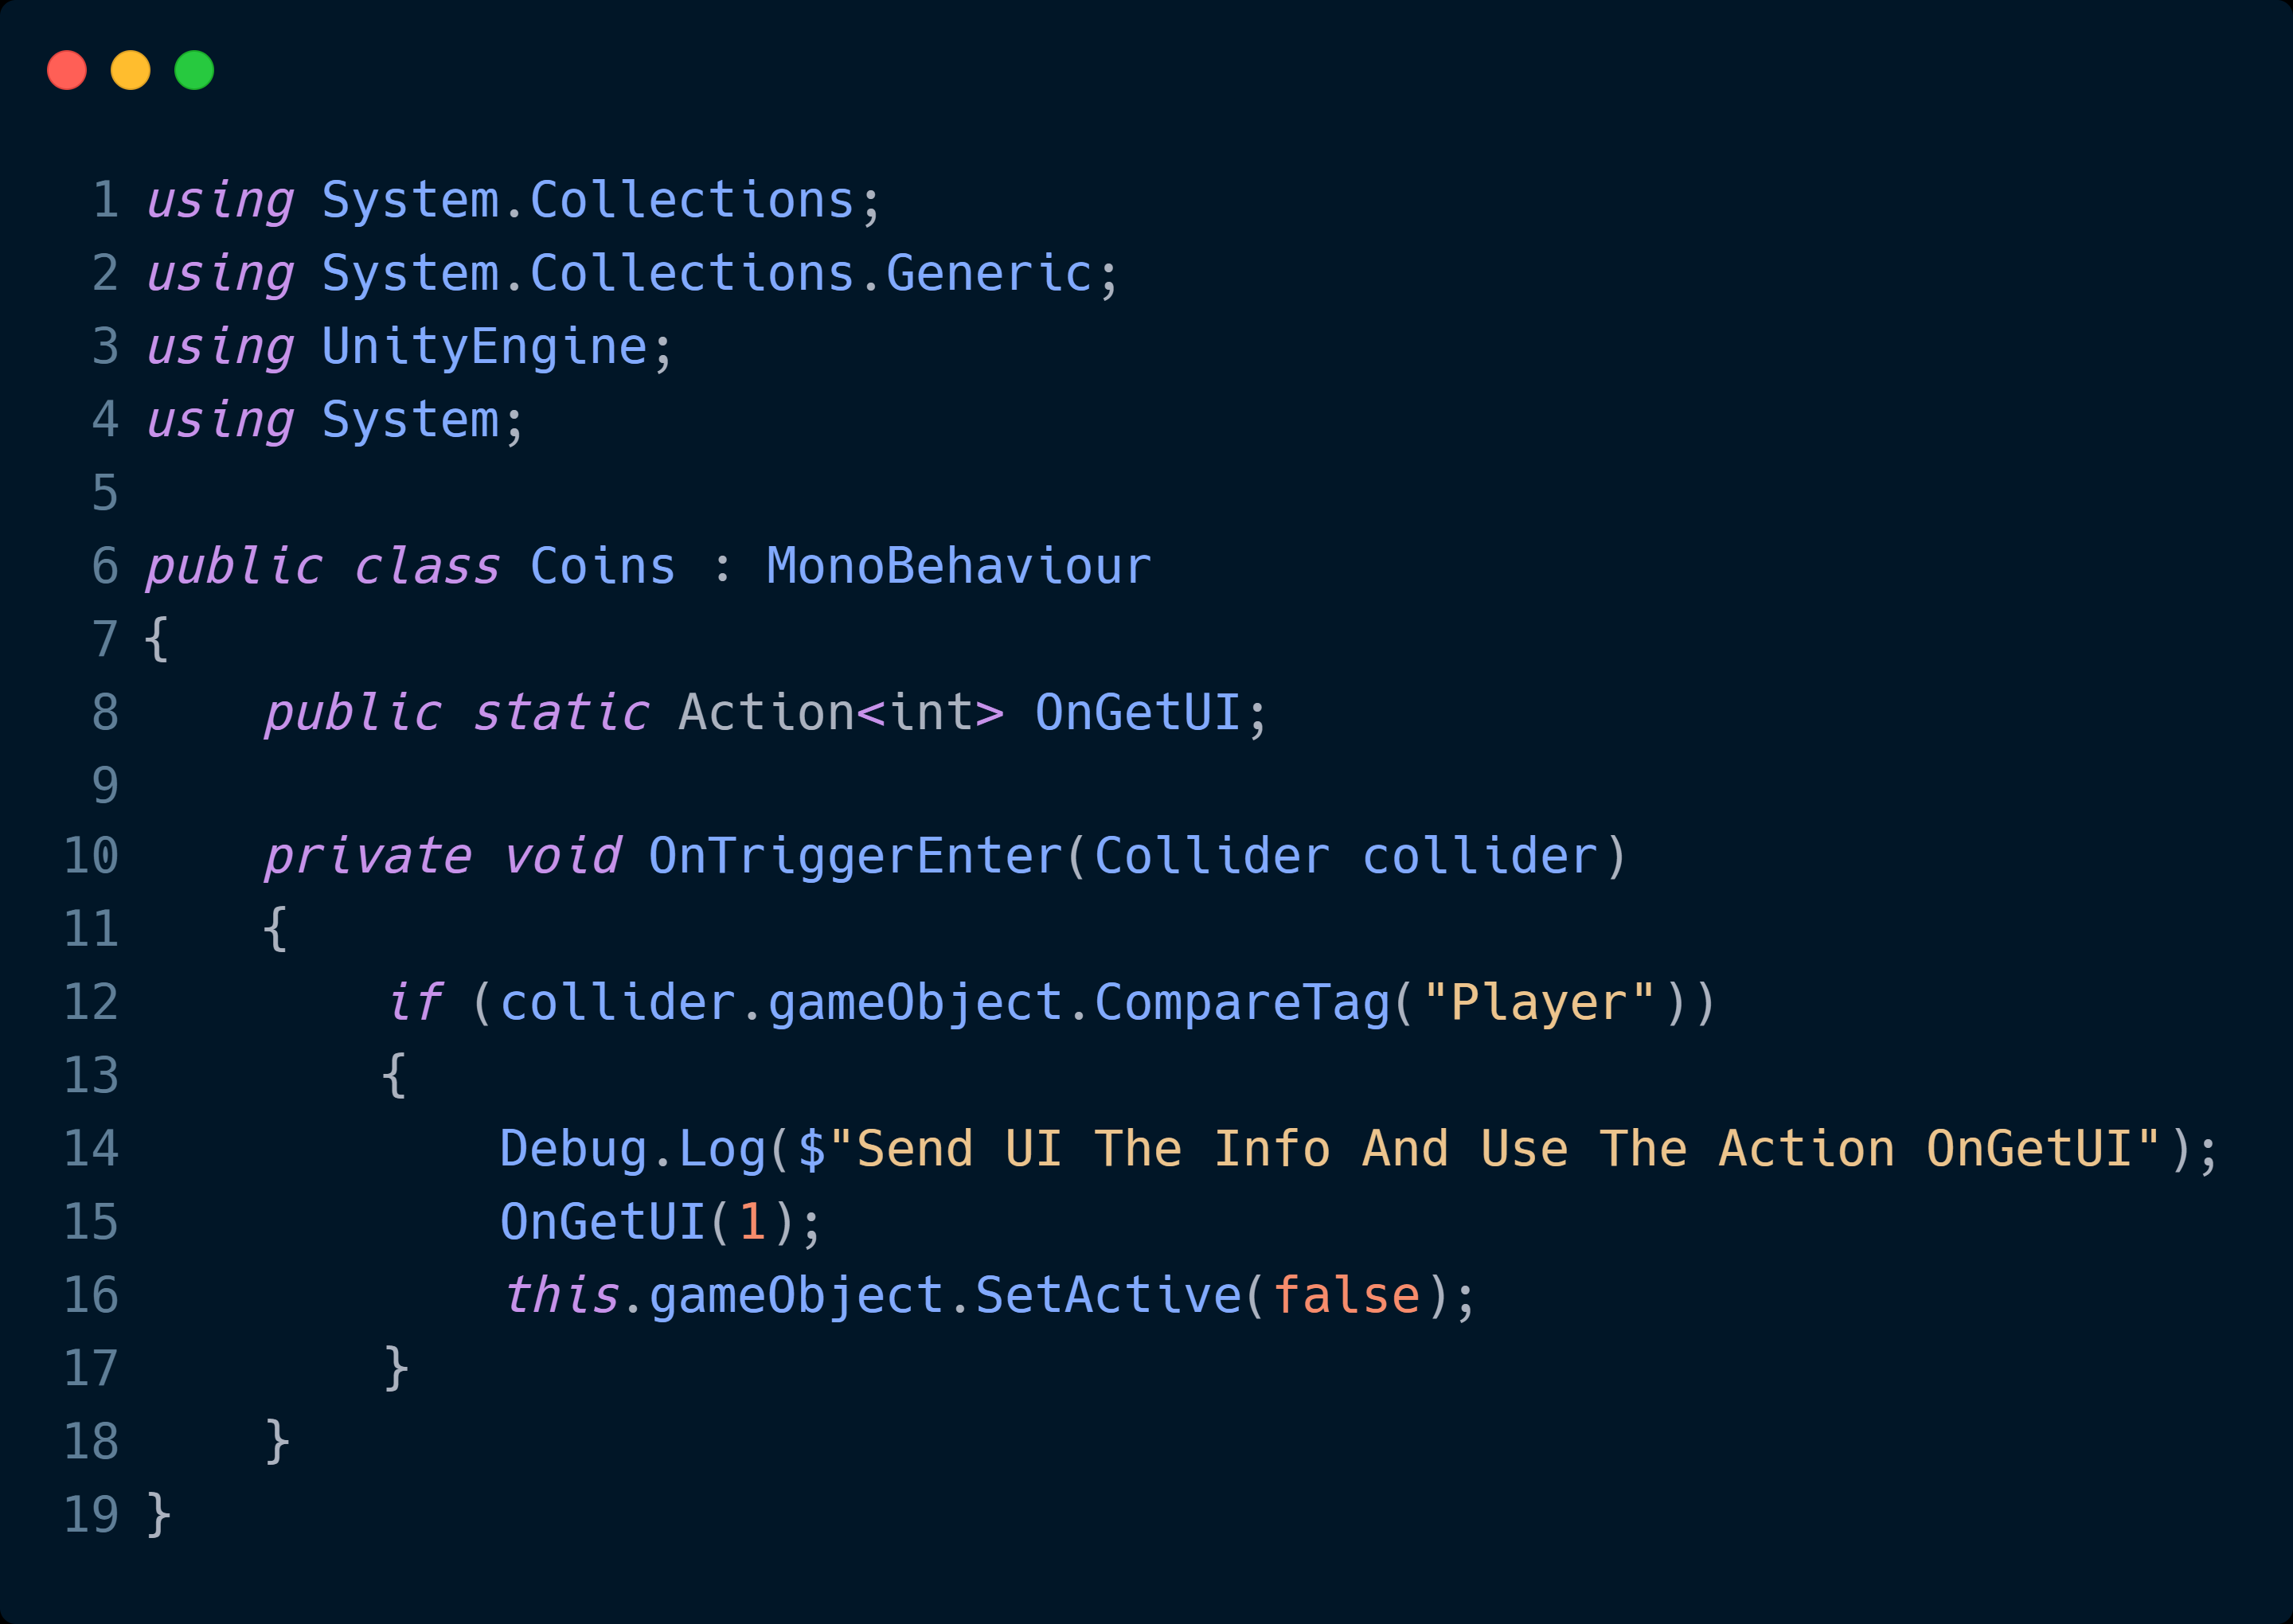
The Player script and the Coin script are straightforward to understand. The Player script moves my player object using the WASD keys, and the Coin script is responsible for sending an int using an Action when the Player collides with the coin.
I'll show you later what the UIManager script does since it involves using the UI Element namespace.
UI Toolkit
UI Builder
For the article, the Unity version used is Unity 2021.3
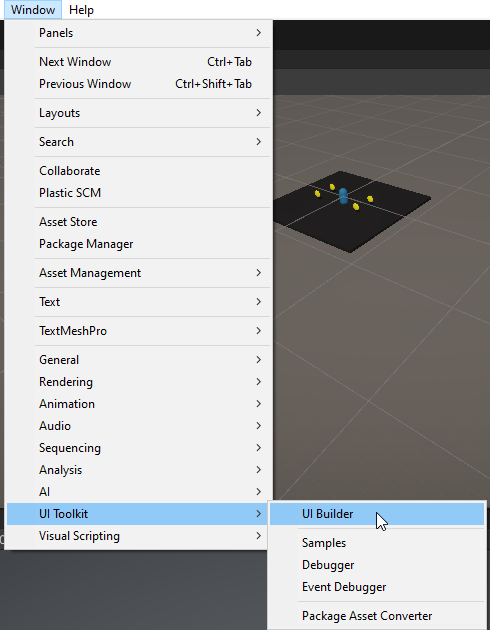
To open the UIBuilder, you will go to Window->UI Toolkit->UIBuilder.

You will be greeted with the following window, the image above; this window you can attach to the other editor windows on Unity or use it separately.
StyleSheets: Manage StyleSheets and USS Selectors to share styles across UI Documents (UXML) and elements.
Hierarchy: On this window, you create the section where the UI will be; you can select, reorder, reparent, cut, copy, paste, and delete elements in the UI hierarchy of your document.
Library: This is where you are going to get the UI element like Text, Labels, Buttons, etc.
Viewport: This is where you can visualize where your UI element is being placed on the screen, and you can edit some parts directly here.
Code Previews: This is the UI Document (UXML) text and the StyleSheets (USS) when created on the Viewport window.
Inspector: When selecting a UI element using the Inspector windows, you can change properties like color, width, size, font, etc.
Creating Our Score Text
UXML File
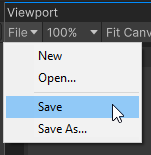
Having the UI Builder window open, you’ll save the UXML file that will hold the UI Elements. Name your UXML file and press save.
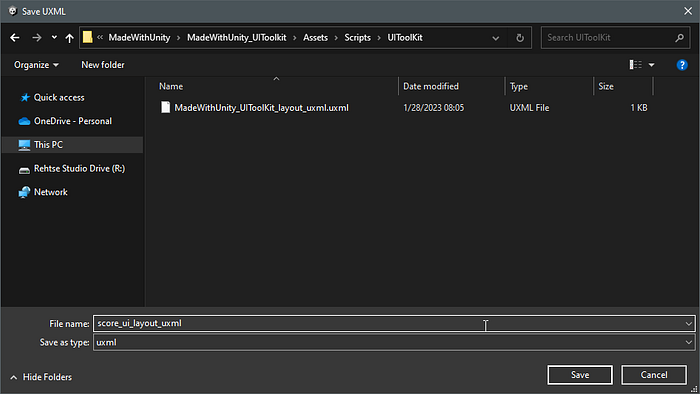
To keep everything organized, save your UXML file in its UI XML folder inside the Scripts folder.
Each UXML file will represent the UI you want to make.
For example, you can have a UXML file for your Menu, another UXML file for your Pause Menu, and another for the UI during gameplay.
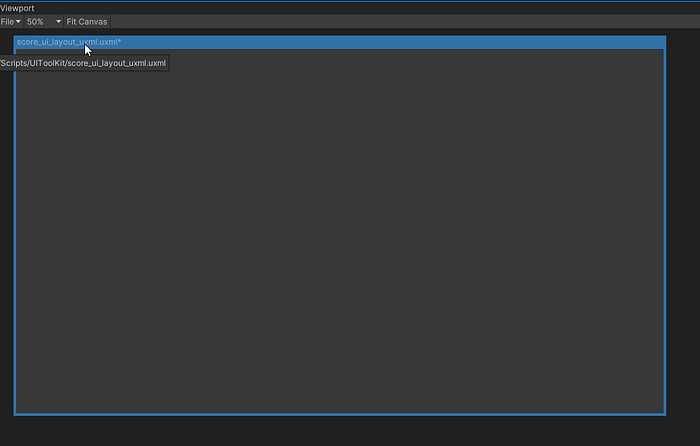
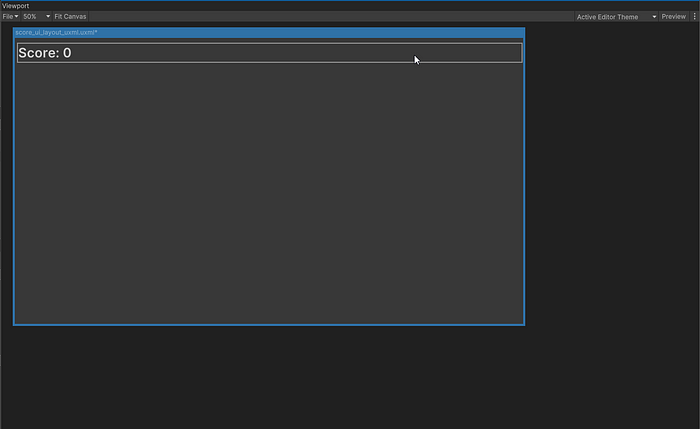
Viewport
To ensure our UI fits our screen resolution, select your display preference on your Game window.

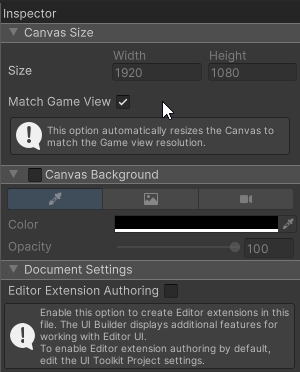
Select your canvas, and have your zoom view at 50%. On the inspector window, select Match Game View, and it will resize to your preferences from the Game window.
Hierarchy
Since we are going as simple as possible, we will add a GroupBox from the Library -> Containers section to the Hierarchy window and stretch that GroupBox to the end of the canvas.
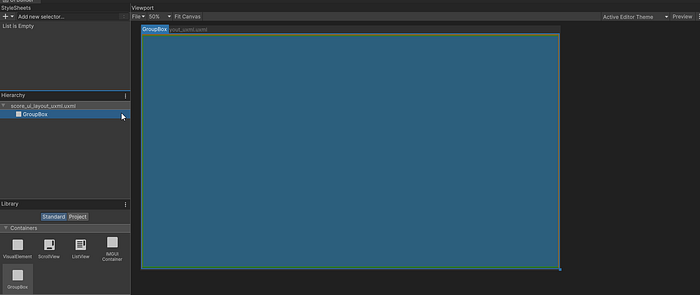
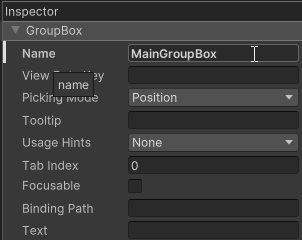
Using the Inspector window, we will rename the GroupBox to MainGroupBox.
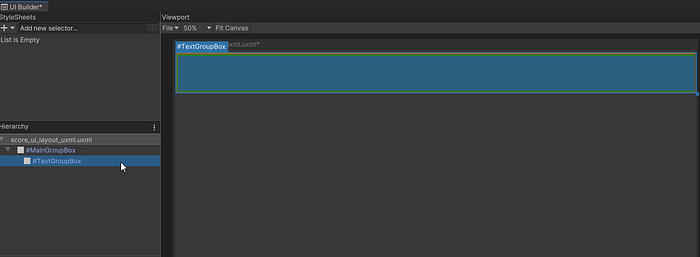
Add another GroupBox, which will be a child, to the MainGroupBox. Rename it TextGroupBox.
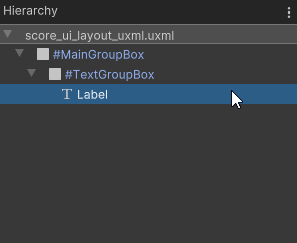
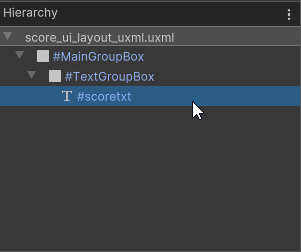
From the Library->Controls window, drag a Label element and place it inside the TextGroupBox and rename the Label to scoretxt.

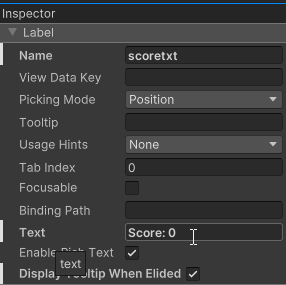
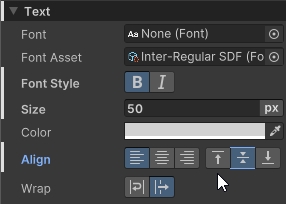
Using the Inspector window, go to the Label section, and on Text, write Score: 0. And on the Text section for Font Style, make it Bold, Size 50.
StyleSheets
The StyleSheets window is where you create your USS file.
The USS file holds properties related to Font, Color, and Size for the classes you are using. This will allow all text, buttons, or backgrounds to have a specific style without going to each element one by one and doing the property changes.
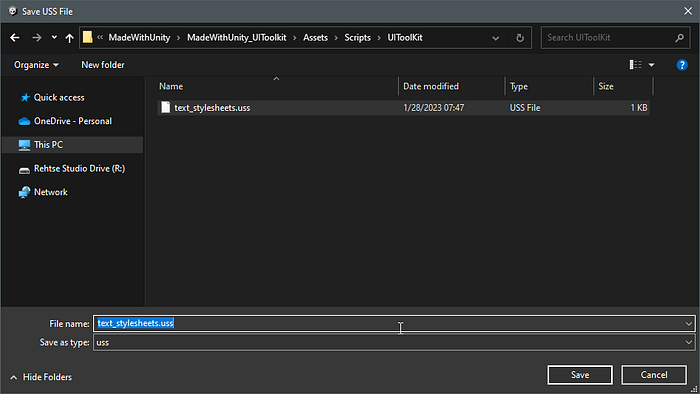
Please create a new USS file and save it.
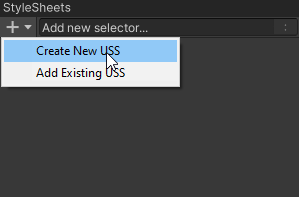
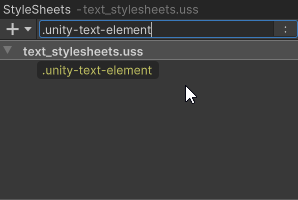
Once the file has been created where it says Add new selector, you will type .unity-text-element, and a window with some tips will pop up.

This style of class writing is very similar to how you approach style using CSS on web design. To style all paragraphs or all headers on HTML, you will use “p{}” or “h1{}” to target the <p> and <h1> tags.
If you named your tag with a custom class like <p class= “unity”>, the way to target this specific tag is to use a period before the naming of the class, “.unity”.
BACK TO THE UI BUILDER
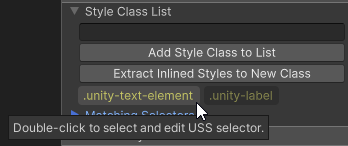
To get the specific style class for the UI element on the Inspector window, a section named StyleSheet shows you what class style to use for a specific UI Element.
You can double-click the class, which will be added to the USS file, or type it as we did above.

On Unity
To see this UI text, you will need a GameObject with a UI Document component, and as its Source Asset, you will put your UXML Layout.
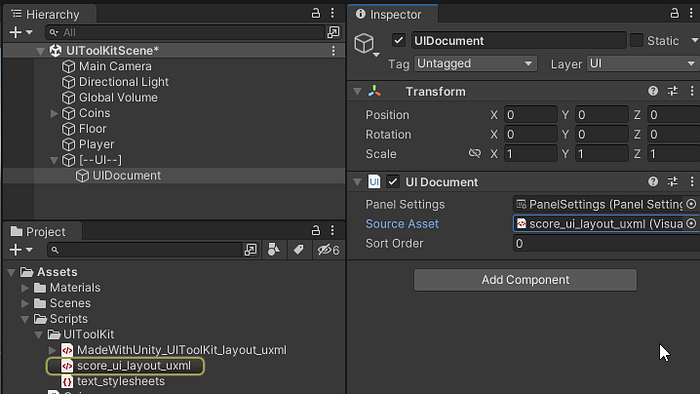
You can add this by hand or right-click on the Hierarchy window and go to UI Toolkit->UI Document.

UI Manager Script
The [ — UI — ] Game Object has the UIManager script as a component, giving us access to update our text whenever we pick up a coin.

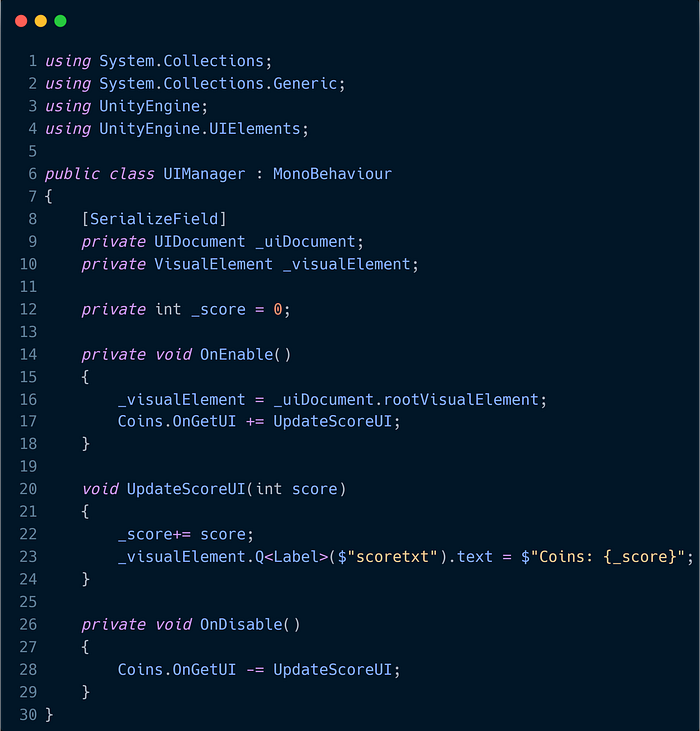
To get access to the UI Element, we need to add the following namespace: using UnityEngine.UIElements, like on line 4.
On line 9, we are getting the reference to the UIDocument that the UIDocument Game Object is holding.
On line 10, we need to use the VisualElement class to access our UI Elements.
You may notice that on line 23, we are getting/changing our text by directly stating that the label is named “scoretxt”; that’s the name we give to the element at the beginning of this article.

This is a fundamental approach to getting a score text system using the new UI Builder.
There's a TON you can do and different ways you can interact with your UI Elements, but I hope this introduction helps ease the learning.
🎮To be continued 🎮


